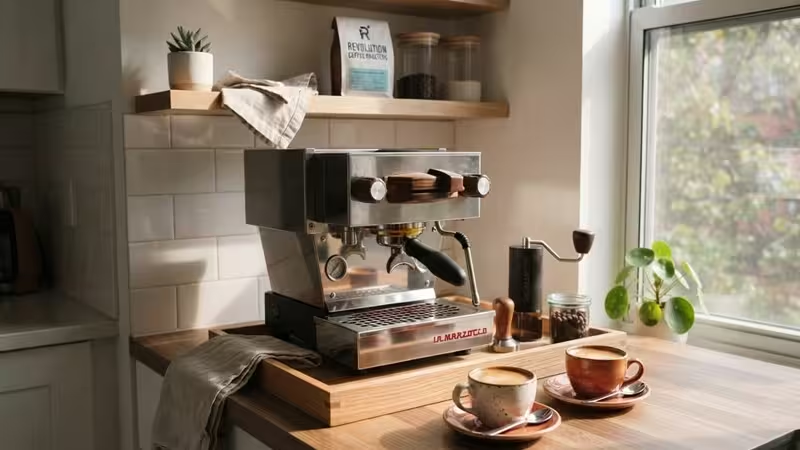
If you’ve ever squeezed a coffee station onto six inches of counter space, you already know the struggle. You want rich, café-quality espresso, but your kitchen has other plans. Here’s the good news: learning how to make perfect espresso at home has nothing to do with how much square footage you own. It’s about technique, the right compact gear, and a few smart layout tricks.
Small apartments across the world are proving this every day. Renters and homeowners alike are ditching bulky, restaurant-grade machines in favor of setups that fit on a single shelf. As a result, they’re pulling shots that rival anything from a professional bar. Meanwhile, coffee brands have caught on, releasing sleeker, smarter machines built specifically for tight kitchens.
This guide walks you through everything you need. We’ll cover choosing the best compact espresso setup at home, mastering extraction, and organizing your corner so it feels intentional rather than crammed. Whether you’re making coffee in a small apartment for the first time or upgrading your current setup, you’ll find practical, tested advice here. Let’s get your espresso game sorted, one small step at a time.
Table of Contents
2. What Does “Perfect Espresso” Really Mean?
Before buying any equipment, it helps to know what you’re actually chasing. A “perfect” shot isn’t about fancy latte art or an expensive machine badge. It’s about balance—sweetness, acidity, and bitterness working together in roughly one ounce of liquid. Once you understand the numbers behind a great shot, replicating it in a tiny kitchen becomes far easier.
2.1 The Golden Ratio: Dose, Yield, Time
Most baristas rely on a simple formula: a 1:2 ratio. That means for every gram of ground coffee (your dose), you aim for double that in liquid weight (your yield). A standard double shot uses about 18 grams of coffee and produces roughly 36 grams of espresso. Additionally, this extraction should take between 25 and 30 seconds, start to finish. Consequently, if your shot runs faster or slower, something in your grind, dose, or tamp needs adjusting. This ratio works whether you’re using a $200 machine or a $2,000 one, which is great news for compact setups.
2.2 Signs of a Good vs. Bad Shot
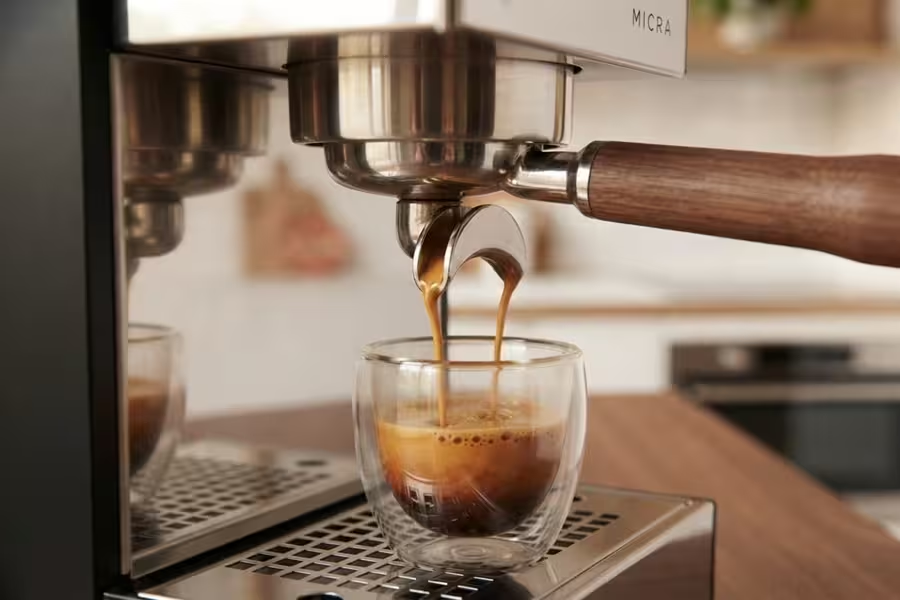
Your eyes and nose will tell you a lot before you even taste. A well-pulled shot has a thick, reddish-brown crema that sits on top like a thin blanket. Meanwhile, a bad shot often looks watery, pale, or streaky. On the taste side, look for a rounded sweetness rather than sharp sourness or harsh bitterness. Sourness usually signals under-extraction; bitterness often means over-extraction. Therefore, learning to read these cues quickly will save you from wasting beans while you’re dialing in your compact grinder and machine combo.
3. Best Compact Espresso Setup at Home
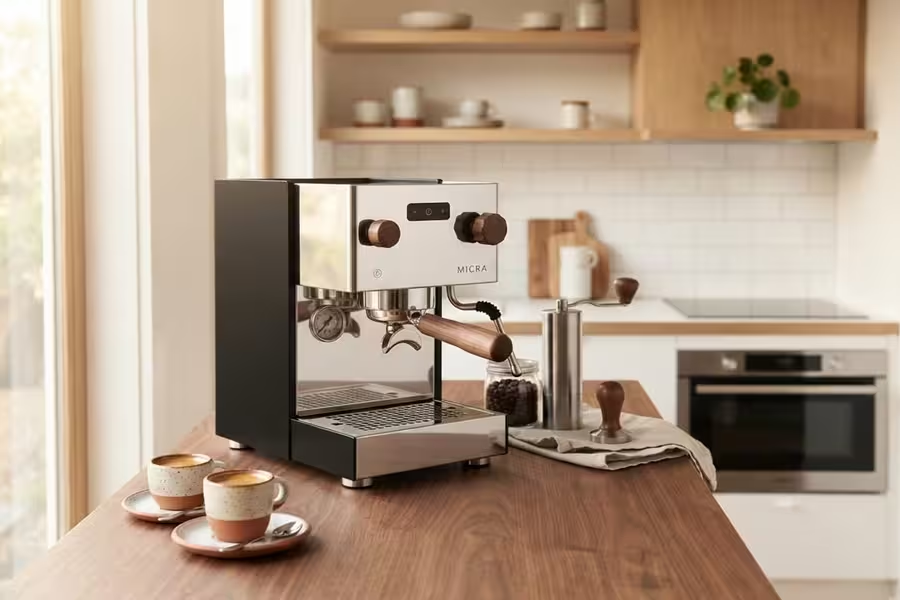
Choosing equipment is where most small-space coffee lovers get stuck. The market is flooded with options, but not all of them respect your limited counter real estate. Fortunately, some of the smartest innovations in home espresso have come from brands designing specifically for apartments, studios, and tiny kitchens.
3.1 Manual vs. Semi-Automatic vs. Super-Automatic
Manual lever machines are the smallest and most minimalist option, often no wider than a toaster. They require more hands-on skill, but they reward you with total control and zero digital clutter. Semi-automatic machines sit in the middle ground: compact, affordable, and forgiving for beginners who still want to learn proper technique. Super-automatic machines, on the other hand, handle grinding and brewing at the push of a button. However, they tend to have a larger footprint and a higher price tag. For most apartment dwellers chasing the best compact espresso setup at home, a slim semi-automatic paired with a separate grinder hits the sweet spot between control and convenience.
3.2 Space-Saving Grinders Worth Considering
A great grinder matters just as much as the machine itself. Fortunately, compact conical burr grinders now rival their bulkier counterparts in consistency. Look for models under 6 inches wide with a front-facing dial, since side-access controls often need extra clearance you simply don’t have. Hand grinders are another excellent option, especially since they store easily in a drawer.
3.3 Essential Accessories That Don’t Hog Counter Space
You don’t need a giant knock box or a wall-mounted tamper station. A small digital scale, a stackable tamper, and a foldable drying mat cover the basics. Instead of a dedicated knock box, a simple container tucked inside a cabinet works just as well.
4. Comparison Table: Espresso Machines, Grind Sizes, Dose Ratios & Footprints
Choosing the right combination of machine, grind, and dose can feel overwhelming when every product page uses different terms. This table breaks down the essentials side by side, so you can compare options at a glance before committing to a compact espresso setup at home. Use it as a quick reference while shopping, especially if your counter space is limited to a foot or two.
Notice how footprint doesn’t necessarily correlate with performance. Some of the smallest machines listed here produce shots just as balanced as their larger counterparts, provided the grind size and dose stay dialed in correctly. That’s really the core lesson: consistency matters more than size.
| Machine Type | Footprint (inches) | Ideal Grind Size | Dose Ratio (Coffee:Espresso) | Best For |
|---|---|---|---|---|
| Manual Lever | 6″ x 8″ | Fine, slightly gritty | 1:2 (18g : 36g) | Hands-on hobbyists, tiniest kitchens |
| Semi-Automatic | 8″ x 10″ | Fine, table-salt texture | 1:2 (18g : 36g) | Beginners wanting real control |
| Super-Automatic | 10″ x 14″ | Fine, pre-set by machine | 1:2 (18g : 36g) | Busy households, minimal effort |
| Capsule-Based | 5″ x 7″ | N/A (pre-packed) | Varies by pod | Ultra-small spaces, speed |
| Stovetop Moka Pot | 4″ x 6″ | Medium-fine | 1:1.5 (varies) | Budget setups, no electricity needed |
As you can see, footprint and quality aren’t tightly linked. A manual lever machine, for instance, takes up less room than most toasters while still producing café-level shots. Keep this table handy as you move into the buying and brewing sections ahead.
5. How to Pull a Great Espresso Shot in a Small Kitchen
Once your equipment is sorted, technique becomes the real game-changer. Interestingly, this is where many small-kitchen brewers actually outperform bigger setups, simply because they’ve been forced to slow down and pay attention to every step.
5.1 Step-by-Step Brewing Process
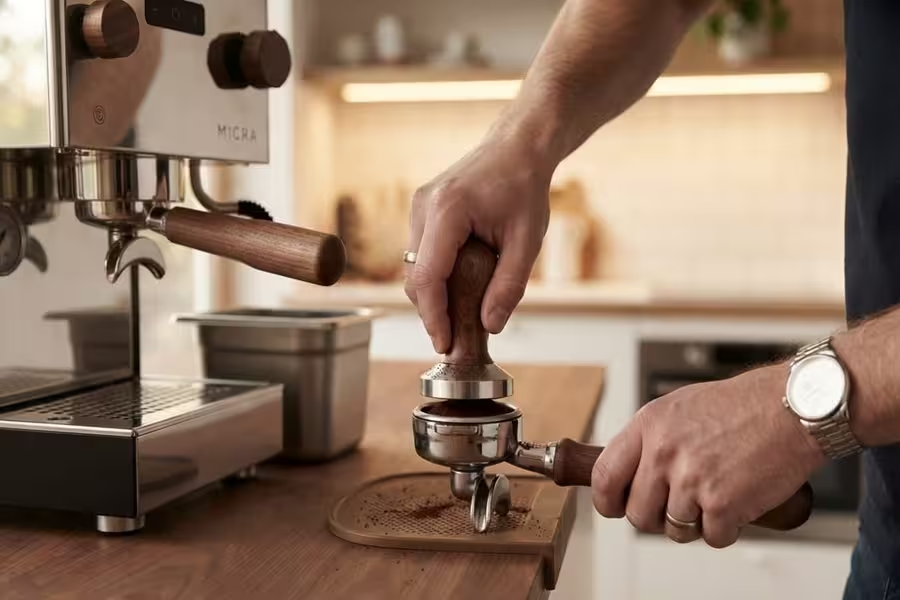
Start by weighing 18 grams of fresh, whole beans directly into your grinder’s hopper. Grind them fine, similar to table salt, since espresso needs much finer particles than drip coffee. Next, distribute the grounds evenly in your portafilter basket before tamping firmly and levelly, applying about 30 pounds of pressure. Afterward, lock the portafilter into the machine and start your timer immediately.
Your shot should begin flowing within 5 to 8 seconds and finish extracting between 25 and 30 seconds total. Meanwhile, watch the color: it should start dark and gradually lighten to a honey tone. Once you’ve collected roughly 36 grams of liquid, stop the extraction. Finally, taste it black first, before adding milk or sugar, so you can actually judge the balance. This entire process becomes second nature after a week or two of daily practice, regardless of your kitchen size.
5.2 Common Mistakes Apartment Brewers Make
Cramped counters often lead to rushed habits, and rushing is the enemy of good espresso. One frequent mistake is skipping the scale altogether, eyeballing dose instead of weighing it precisely. Another is using stale beans because there’s no dedicated storage spot, so bags get shoved behind other items and forgotten. Additionally, many beginners tamp unevenly because they’re working in a tight, awkward space, which causes uneven extraction. Finally, some skip preheating the portafilter, resulting in a temperature-shocked shot that tastes flat. Fortunately, all of these issues have simple fixes once you recognize them.
6. Designing Your Coffee Corner: Making Coffee in a Small Apartment
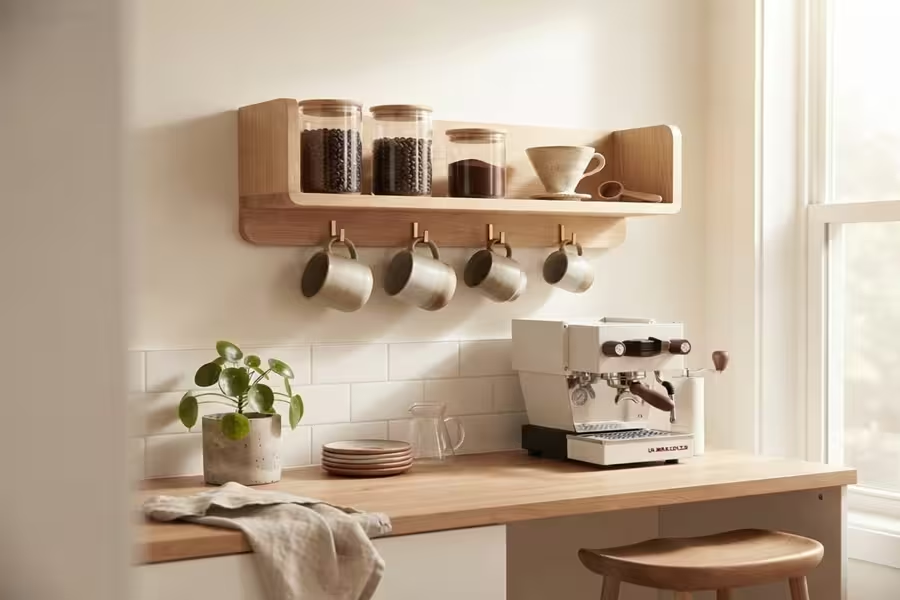
Your gear can be perfect, yet a cluttered, poorly planned corner will still slow you down every single morning. Thoughtful layout design turns a cramped counter into an efficient little coffee bar that actually feels enjoyable to use.
6.1 Vertical Storage & Wall-Mounted Solutions
When floor and counter space run out, look up. Wall-mounted shelves hold beans, cups, and filters without eating into your workspace. A magnetic strip can hold small metal tools, while a hanging basket keeps tampers and scoops within reach but off the counter. Floating shelves above the machine also work well for displaying mugs, which doubles as both storage and decor. Consequently, your counter stays clear for the one thing that actually needs it: your machine and grinder.
6.2 Multi-Purpose Furniture & Rolling Carts
A slim rolling bar cart can completely transform making coffee in a small apartment feel manageable. Because it moves, you can tuck it into a corner when not in use, then wheel it out during your morning routine. Look for carts with two tiers: one for the machine, another for cups and accessories. Similarly, a narrow console table against a wall can double as a dedicated coffee station without permanently claiming kitchen counter space.
6.3 Cord and Clutter Management
Tangled cords make any space feel messier than it is. Use adhesive cable clips to route your machine’s cord neatly along the back of a shelf or wall. Meanwhile, a small tray or drawer organizer keeps loose items like stirring spoons and cleaning cloths contained. These small touches make a noticeable difference in how organized your corner feels day to day.
7. Industry Opinion: Why Massive Commercial Machines Are Overkill at Home
Here’s an opinion I’ll defend confidently: buying a massive, commercial-grade espresso machine for your apartment is rarely worth it, and often works against you. These machines are engineered for cafés pulling hundreds of shots a day, not for someone making two cups each morning. That mismatch creates real problems for home users, not just an aesthetic inconvenience.
First, consider the physical reality. Commercial machines often weigh 50 to 100 pounds and require dedicated water lines or massive boilers that take up an entire counter section. In a small apartment, that’s simply impractical, and it forces compromises elsewhere in your kitchen. Second, think about cost. You’re paying for multi-group heads, high-volume steam wands, and industrial-grade parts you’ll never fully use. That money would go much further toward a quality grinder, which impacts flavor far more than machine size ever does.
Third, and most importantly, modern compact machines have closed the performance gap significantly. Today’s small semi-automatic and lever machines use precise temperature control and improved boiler designs that rival their commercial cousins. As a result, the flavor difference between a well-dialed compact machine and a giant commercial unit is often negligible for home brewing. Meanwhile, compact setups heat up faster, use less energy, and are far easier to clean and maintain.
In short, bigger doesn’t mean better here—it usually just means more expensive and more inconvenient. For anyone serious about how to make perfect espresso at home, I’d argue a thoughtfully chosen compact setup is not just a compromise. It’s genuinely the smarter choice.
8. Maintenance & Longevity in Tight Spaces
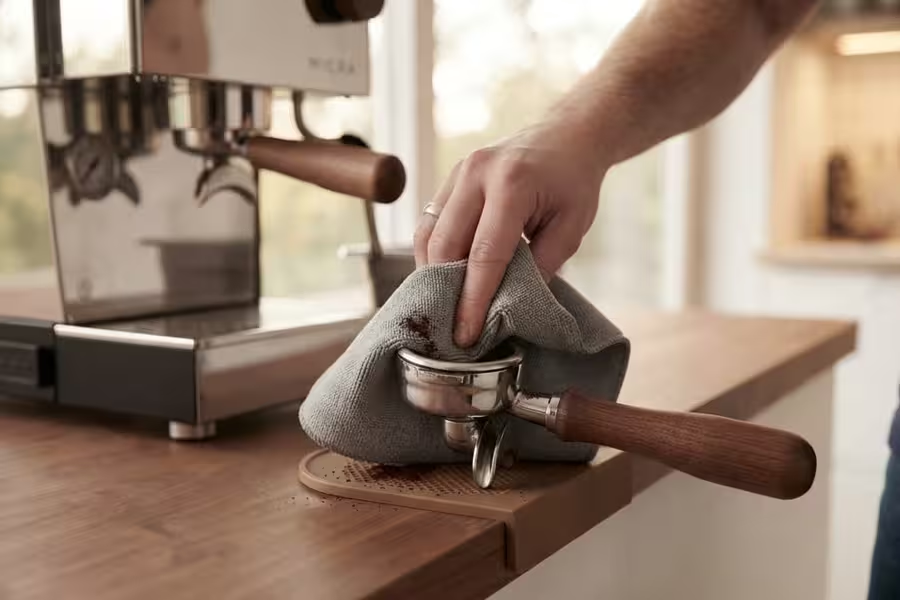
Keeping a compact espresso setup running smoothly doesn’t require a separate utility closet full of tools. A few consistent habits will keep your machine performing well for years, even in the tightest kitchen.
8.1 Daily Quick-Clean Routine
After each shot, wipe down the portafilter and group head with a damp cloth to remove leftover coffee oils. These oils build up quickly and can turn rancid, affecting the taste of future shots. Additionally, purge the group head with a quick burst of hot water before and after brewing, which flushes out stray grounds. At the end of the day, empty and rinse your drip tray, since standing liquid attracts bacteria and odor. This entire routine takes under two minutes, yet it dramatically extends your machine’s lifespan. Because compact machines have less internal space, neglected buildup tends to affect flavor faster than it would in larger units. Therefore, staying consistent really does pay off.
8.2 Descaling Without Extra Equipment
Mineral buildup from water is the biggest threat to any home espresso machine, regardless of size. Fortunately, descaling doesn’t require special tools beyond a bottle of descaling solution and fresh water. Run the solution through your machine following the manufacturer’s instructions, typically every one to three months depending on water hardness. Afterward, flush thoroughly with plain water to remove any residue. If you’re using filtered or bottled water, you can often stretch descaling to a slightly longer interval, since less mineral buildup accumulates over time.
9. FAQ Section
Can you make authentic espresso without an expensive machine?
Yes, absolutely. Authentic espresso comes down to proper ratio, grind size, and extraction time, not the price tag on your machine. A well-maintained budget or mid-range machine, paired with a good grinder, can produce shots that rival much pricier setups. Technique and fresh beans matter far more than brand prestige.
What is the ideal dose and extraction time for a double shot of espresso?
Most double shots use around 18 grams of coffee, producing roughly 36 grams of liquid espresso. The extraction should take between 25 and 30 seconds from the moment the shot starts flowing. If your shot runs faster, your grind is likely too coarse; if it runs slower, it’s probably too fine.
How do you keep your coffee corner clean on a narrow countertop?
Wipe down surfaces daily and empty your drip tray each night to prevent buildup and odor. Store loose accessories in a small drawer organizer or hanging basket instead of leaving them scattered. Additionally, a compact tray under your machine contains spills and makes weekly deep cleaning much faster.
Is a manual coffee grinder better than a cheap electric grinder for small spaces?
Generally, yes. A quality manual grinder often produces more consistent grounds than a low-end electric blade grinder, which chops unevenly. Manual grinders also take up far less space and store easily in a drawer. However, if speed matters most to you, a compact burr electric grinder is still a solid choice.
What is the difference between pressurized and non-pressurized filter baskets?
Pressurized baskets are more forgiving, using internal mechanisms to help create crema even with slightly inconsistent grind or tamp technique. Non-pressurized baskets require more precise technique but reward you with fuller flavor and better control. Beginners often start with pressurized baskets, then switch once their skills improve.
How often should you descale a compact espresso machine?
Most compact machines need descaling every one to three months, depending on your water’s mineral hardness. If you notice slower flow rates or unusual noises, that’s often a sign it’s overdue. Using filtered water can extend the time between descaling sessions.
Does water quality really affect the taste of home espresso?
Yes, significantly. Since espresso is roughly 98% water, mineral content and purity directly influence flavor extraction. Water that’s too hard causes scale buildup and dull flavors, while water that’s too soft can extract poorly too. Filtered water generally produces the most balanced, consistent results.
10. Conclusion & Next Steps
Great espresso doesn’t require a sprawling kitchen or a machine the size of a small refrigerator. As we’ve covered throughout this guide, mastering how to make perfect espresso at home really comes down to three things: choosing gear suited to your space, understanding your ratios and extraction time, and organizing your corner thoughtfully. None of that requires more square footage—just smarter choices.
If you’re still narrowing down equipment, revisit the comparison table in Section 4 to match a machine and grinder to your exact counter space. Similarly, keep the daily and monthly maintenance habits from Section 8 in mind, since consistency is what keeps any compact machine performing well for years. Small adjustments, made consistently, add up to genuinely excellent coffee.
For readers wanting to go deeper into extraction science and brewing standards, the Specialty Coffee Association’s brewing standards offers excellent, research-backed guidance worth exploring.
Ultimately, making coffee in a small apartment isn’t a limitation—it’s an opportunity to build a setup that’s efficient, intentional, and genuinely yours. Start small, stay consistent, and enjoy the process. Your perfect shot is closer than you think.

Hi! I’m Ilhame, a coffee enthusiast and small-space living lover. I created Small Corner Coffee to help apartment dwellers and home barista lovers transform tight spaces into functional, stylish, and cozy coffee stations. When I’m not testing compact espresso gear, you’ll find me researching design trends and enjoying a perfectly pulled espresso.